FAQs

Get instant answers in FAQs.

  • How to submit feature requests or product feedback?

    +

    As a startup team, your suggestions and feedback mean the world to us! We eagerly look forward to hearing from you to help improve our product. You can easily submit through:

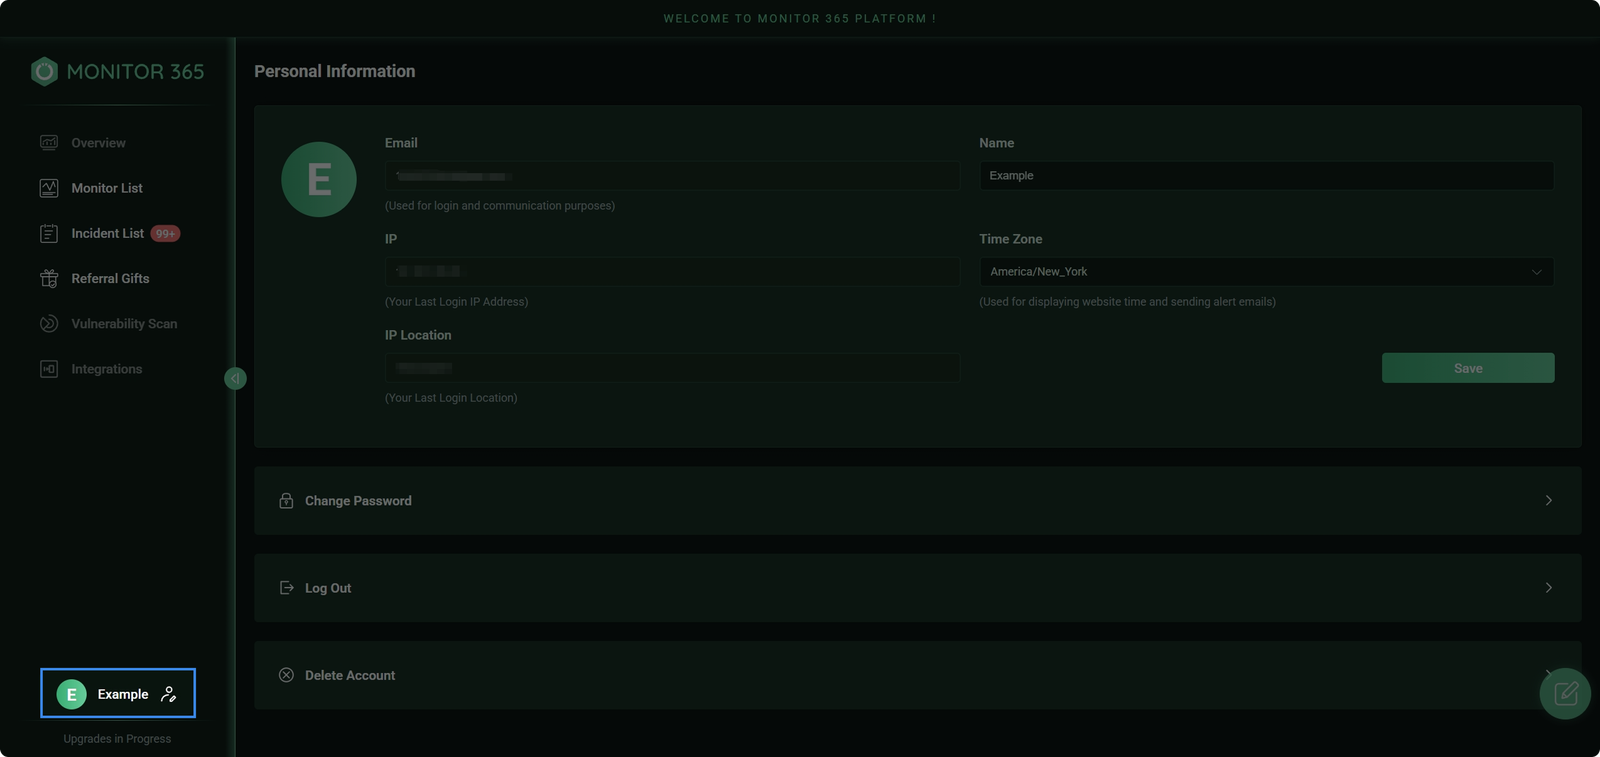
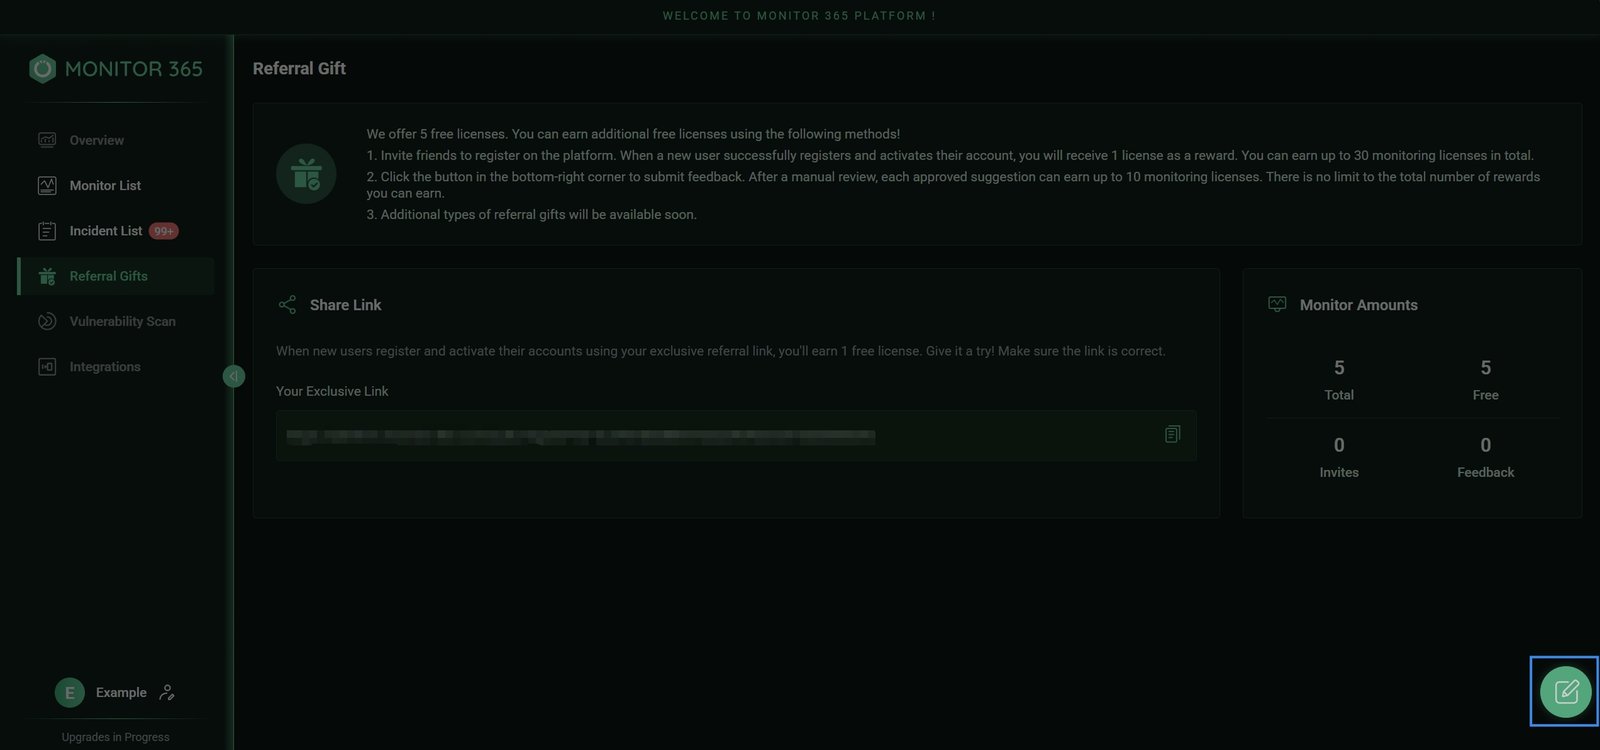
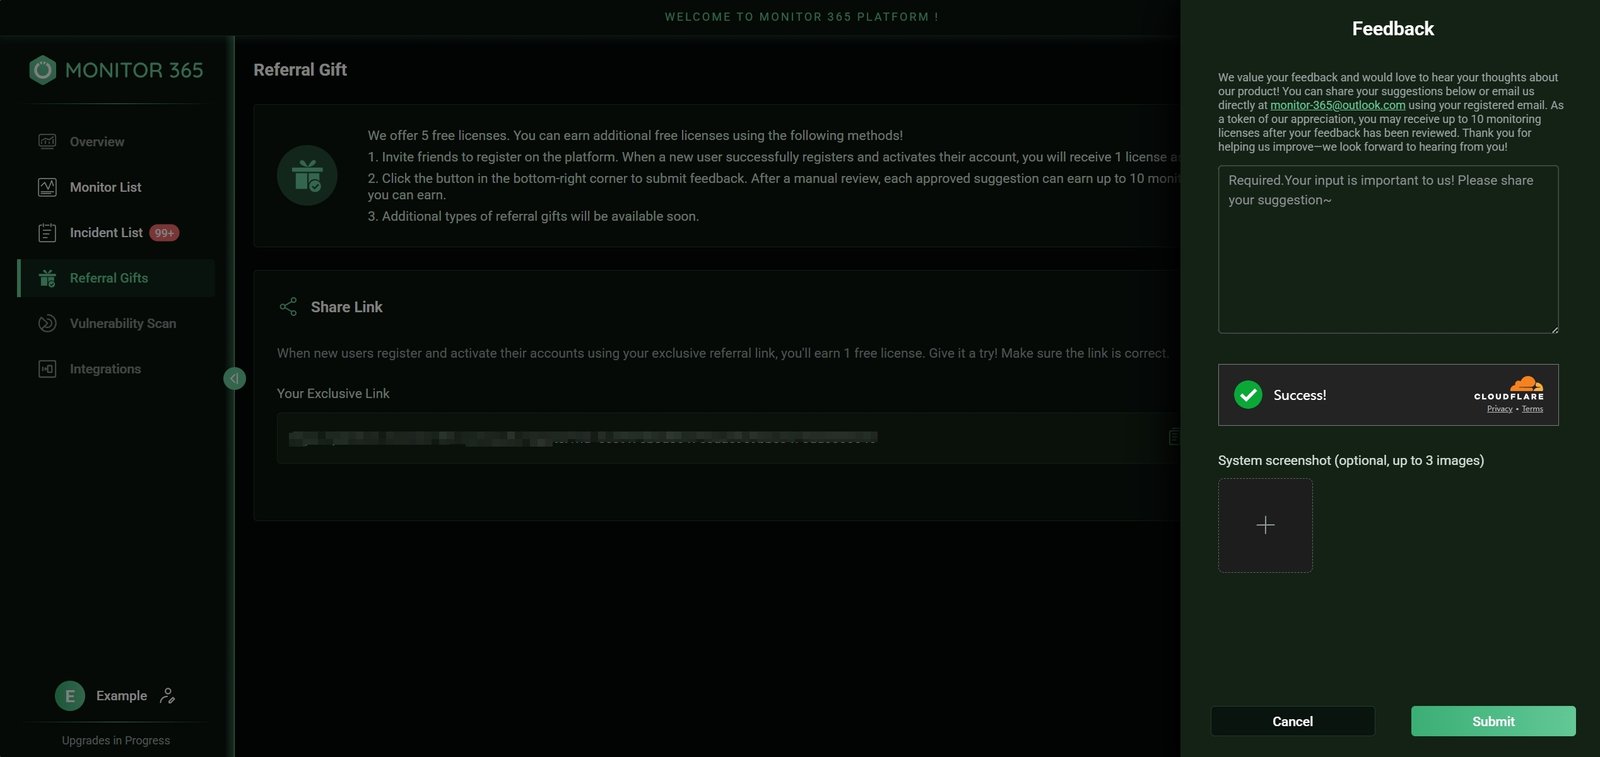
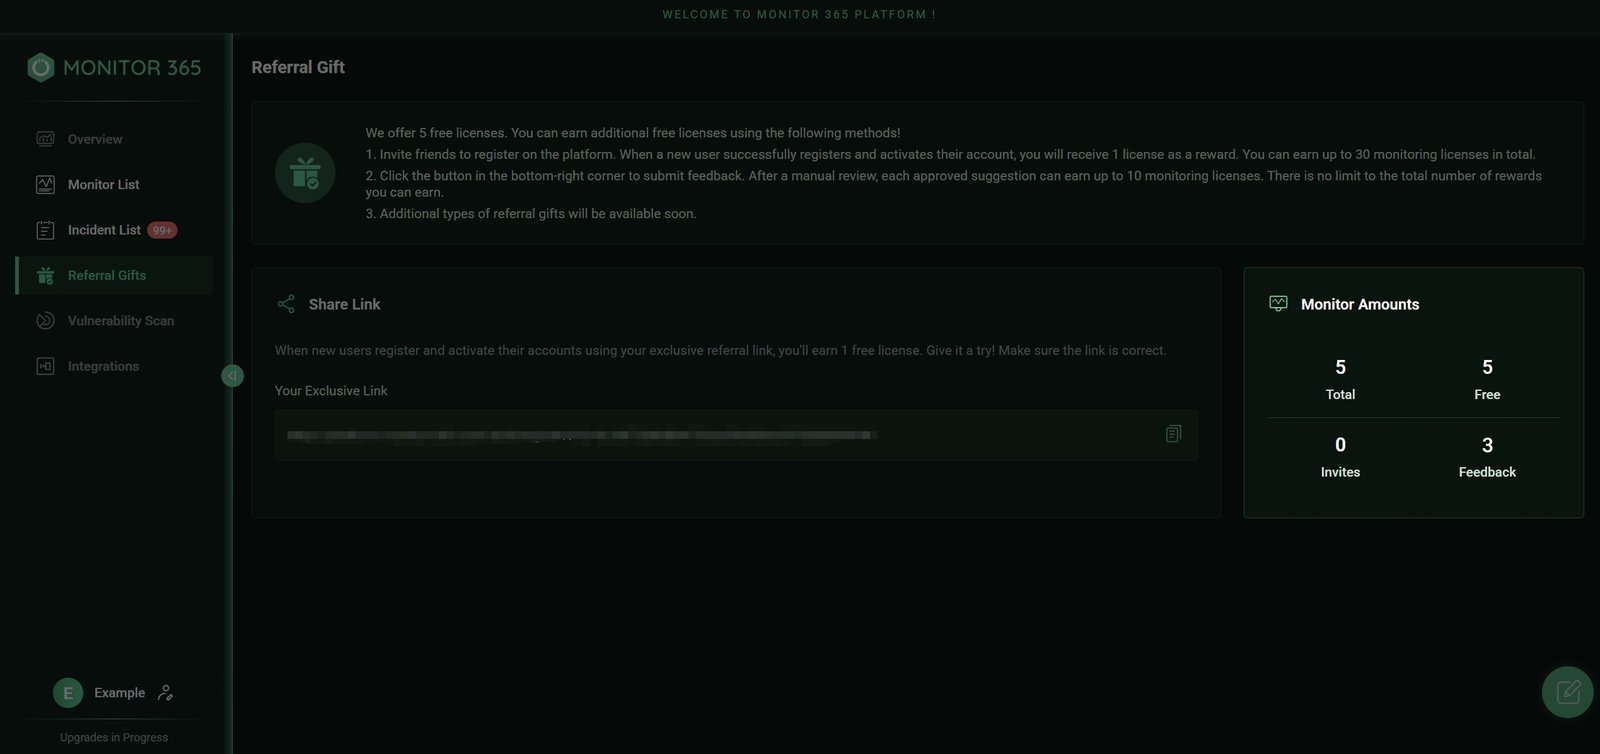
    After logging in, click the “Feedback” button in the bottom-right corner of any page to access the feedback form. Describe your specific requests, and we’ll promptly follow up upon submission.

    Reach out anytime at monitor-365@outlook.com. Whether it’s a desired new feature, experience optimization, or any ideas while using the product, feel free to share.

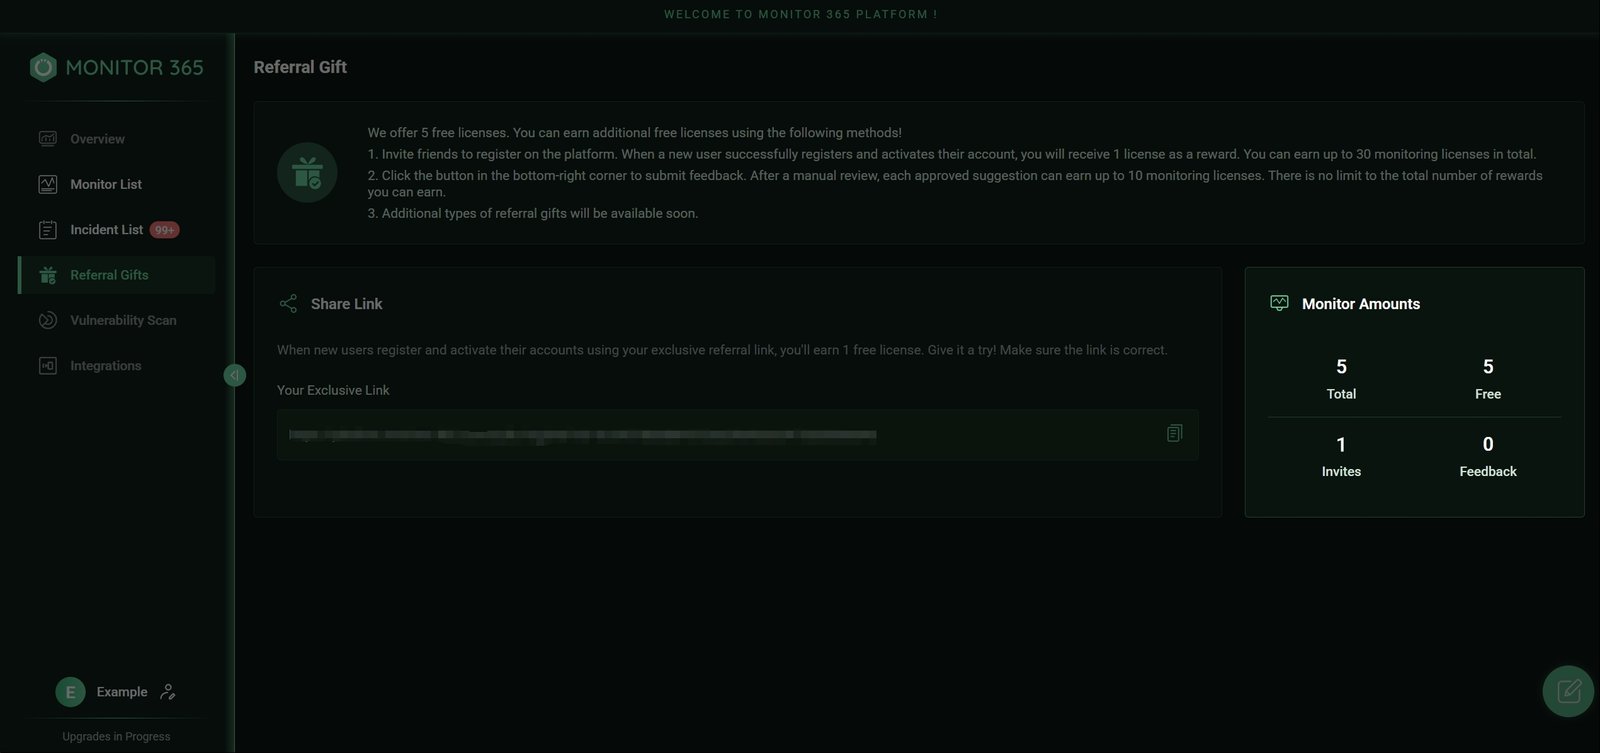
    Feedback submitted through the official in-platform channel will earn you free licenses upon review and approval!

  • What’s the max number of monitoring licenses I can get?​

    +

    ▸ All records can be viewed in the “Monitor Amounts” dashboard.

  • Why haven’t I received licenses after inviting a friend?

    +

    Please refer to the following common reasons:

    🔗 ​​Link Validity​​
    Ensure your friend registered using the correct exclusive invitation link. Non-personalized links or direct registration through the official website won’t trigger the addition of licenses.

    ✅ ​​Account Activation Status​​
    After registration, your friend must complete email verification. Only then will the system sync the monitoring licenses to your account.

    👥 ​​User Eligibility​​
    Authorization rules apply only to first-time registrants. If your friend previously had a Monitor 365 account (even if deleted), the system will recognize them as a returning user, and no license quota will be added.

    🛠️ Still unresolved?
    Contact us via monitor-365@outlook.com and we’ll assist you as soon as possible.

  • How to update my account information?

    +

    Click any of these (avatar/nickname/icon) in the bottom-left corner to enter the Personal Center.

    •Nickname​​: Customizable field for use in alert emails.​

    •Time Zone : Automatically matched based on registration IP, with support for manual adjustment.

    Click “Save” to apply changes immediately.

    •Change Password​​: Update login credentials anytime.

    •Log Out​​: Temporarily exit current account.

    •Delete Account​​: Permanently delete all account data.

  • How to earn more free licenses?

    +

    To continuously improve our products and services, users providing product feedback will receive free licenses. ​​Steps to get rewards:​​

    Click the “Feedback” button at the bottom-right corner of any page within Monitor 365 to submit your suggestions.

    Describe any issues encountered with Monitor 365 or optimization suggestions.

    Upload up to 3 relevant images (optional).

    Complete CAPTCHA verification and click the “Submit” button.

    Our team will review and evaluate your suggestions within 3-5 business days.

    1-10 monitoring licenses will be issued upon approval (based on suggestion value assessment).

    Rewards increase with submissions, with no upper limit.

    You can check acquired licenses in the “Monitor Amounts” dashboard.

    – High-quality suggestions (feature optimizations/bug fixes) receive higher rewards.

    – Do not submit duplicates or invalid content (ads/irrelevant info will be rejected).

    – Maximum of one feedback submission per hour.

    – Results will be notified via email regardless of acceptance.

  • How to earn free licenses by referring friends?

    +

    Click “Generate Link” to create your exclusive referral link.

    Click “Copy” to instantly copy the link and share it with your friends.

    You will receive 1 free license each time a friend successfully registers and activates their account via your referral link. All referral rewards can be viewed in the ‘Monitor Amounts’ dashboard.

    ▸30 licenses max per account.

    ▸Each friend can only be counted once.

    ▸Additional types of referral gifts will be available soon.

  • Best practices for X-Frame-Options headers

    +

    The X-Frame-Options header controls whether a webpage can be embedded within <frame>, <iframe>, <embed>, or <object> elements, protecting against clickjacking attacks.

    X-Frame-Options: <Policy>

    – DENY → Prevents the page from being embedded in any context.

    – SAMEORIGIN → Allows embedding only within the same origin.

    – ALLOW-FROM origin → Permits embedding only from a specified origin (deprecated).

    1. Use DENY for sensitive pages that do not require embedding (e.g., login pages).

    2. For basic protection, use SAMEORIGIN, but ensure proper mitigation of XSS attacks on same-origin sites.

    3. ALLOW-FROM origin is deprecated—use the CSP frame-ancestors directive instead. For legacy browser support, both can be applied together.

    X-Frame-Options: DENY
    X-Frame-Options: SAMEORIGIN

  • X-XSS-Protection settings for XSS defense

    +

    The X-XSS-Protection header controls the browser’s built-in Cross-Site Scripting (XSS) filter, blocking malicious XSS attack requests.

    X-XSS-Protection: <Policy>

    – 0; → Disables XSS filtering.

    – 1; → Enables XSS filtering; removes malicious content while rendering the page.

    – 1; mode=block → Enables XSS filtering; blocks page loading if an XSS attack is detected.

    – 1; report=<reporting-uri> → Enables XSS filtering; removes malicious content, renders the page, and reports violations to the specified URL.

    1. Modern browsers have deprecated this header—use Content Security Policy (CSP) for XSS protection instead (X-XSS-Protection: 0).

    2. For legacy system compatibility, use: X-XSS-Protection: 1; mode=block.

    X-XSS-Protection: 1; mode=block

  • How to configure X-Content-Type-Options properly?

    +

    The X-Content-Type-Options forces browsers to strictly follow the server-declared Content-Type, preventing MIME type sniffing attacks.

    X-Content-Type-Options: <Policy>

    – nosniff → Enforces strict validation of the Content-Type. If the MIME type does not match the expected type, the request is blocked.

    1.Ensure the server correctly sets the Content-Type header before enabling this option to prevent resource loading failures.

    2.Enable nosniff site-wide and progressively deploy it from core content to all resources once resource types are verified.

    X-Content-Type-Options: nosniff

  • How to prevent XSS attacks using CSP headers?

    +

    CSP enforces a whitelist-based mechanism to control the sources from which web pages can load resources, mitigating Cross-Site Scripting (XSS) attacks.

    Content-Security-Policy:<Policy>

    – default-src → Defines the default loading policy for all resource types.

    – script-src → Controls the allowed sources for JavaScript execution.

    – style-src → Defines the allowed sources for CSS stylesheets.

    – img-src → Restricts the sources of image resources.

    – connect-src → Specifies permitted sources for connections such as XHR, WebSockets, and fetch API requests.

    – Policy options: ‘none’ (deny all), ‘self’ (same origin), ‘unsafe-inline’ (allow inline scripts), etc.

    1. Follow the principle of least privilege – start with default-src ‘none’ and allow only necessary resource types.

    2. Remove high-risk options, such as ‘unsafe-inline’ and ‘unsafe-eval’, in production.

    3. Use nonce or hash values to replace inline scripts/styles instead of allowing unsafe inline execution.

    4. Enable report mode (Content-Security-Policy-Report-Only) first to monitor policy impact before enforcing it.

    Content-Security-Policy:
    default-src ‘none’;
    script-src ‘self’ static.example.com;
    style-src ‘self’;
    img-src ‘self’ data:;
    connect-src ‘self’ api.example.com;